Speed Optimization!!! How to do wordpress speed optimization or speed up a wordpress website? Is this really a matter of tension? If you say No then I will tell you that you should learn more about SEO.
According to google recent update we came to know that Website speed optimization is one of the major ranking factor of google top page ranking.
More over if your website is slow visitor will get bored because people want quick result! They will leave your website and you will loose your website visitor. So it is important to do speed optimization on your website.
Here I will talk about WordPress speed optimization using some valuable coding and less plugin.
The topic I will cover:
- How to Fix the Leverage Browser Caching Warning in WordPress with code
- How to Add Expires headers
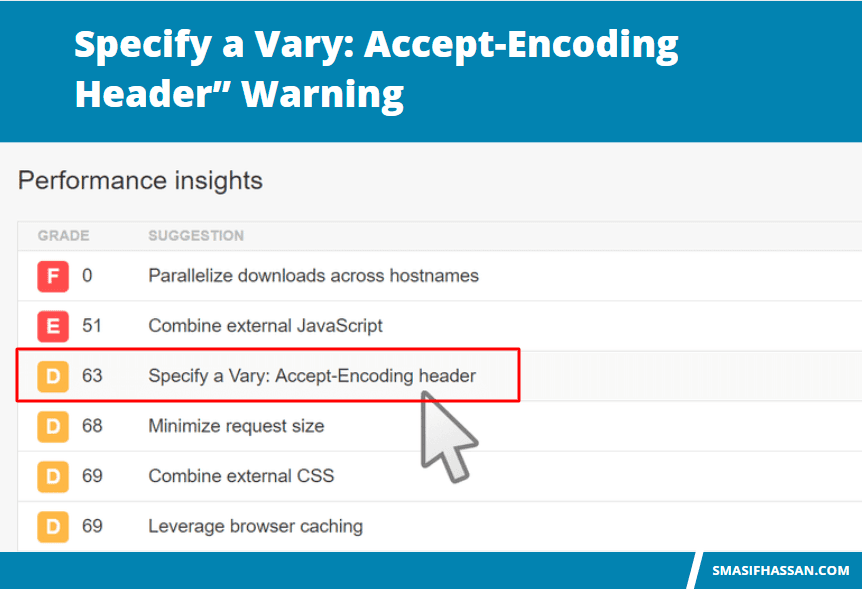
- How to Fix “Specify a Vary: Accept-Encoding Header” Warning
- Remove Query Strings from Static Resources with Code
- How to Enable GZIP Compression in WordPress
- How to setup or use cookie-free domains
- How to do Image optimization or use image compressor
- How to fix “Ensure text remains visible during webfont load”
- How to Fix Flash of Invisible Text
Chapter 1:
How to Fix the Leverage Browser Caching Warning in WordPress with code
If you’re seeing this warning in Google PageSpeed Insights, you can resolve it by:
1. Adding Cache-Control or Expires headers.
2. Leveraging browser caching for Google Analytics.
3. Minimizing your use of third-party scripts.
You can add Expires headers in Apache by adding the following to your .htaccess file:
## EXPIRES HEADER CACHING ##
<IfModule mod_expires.c>
ExpiresActive On
ExpiresByType image/jpg "access 1 year"
ExpiresByType image/jpeg "access 1 year"
ExpiresByType image/gif "access 1 year"
ExpiresByType image/png "access 1 year"
ExpiresByType image/svg "access 1 year"
ExpiresByType text/css "access 1 month"
ExpiresByType application/pdf "access 1 month"
ExpiresByType application/javascript "access 1 month"
ExpiresByType application/x-javascript "access 1 month"
ExpiresByType application/x-shockwave-flash "access 1 month"
ExpiresByType image/x-icon "access 1 year"
ExpiresDefault "access 1 month"
</IfModule>
## EXPIRES HEADER CACHING ##
Another way, you can improve browser-caching is to add Cache-Control. To add Cache-Control, you need to add the following code in .htaccess file.
# BEGIN Cache-Control Headers


<filesMatch "\.(ico|jpe?g|png|gif|swf)$">
Header append Cache-Control "public"

<filesMatch "\.(css)$">
Header append Cache-Control "public"

<filesMatch "\.(js)$">
Header append Cache-Control "private"

<filesMatch "\.(x?html?|php)$">
Header append Cache-Control "private, must-revalidate"
Have any other tips about fixing the leverage browser caching? Let us know in the comments section below!
Chapter 2:
How to Fix “Specify a Vary: Accept-Encoding Header” Warning

Fix “Specify a Vary: Accept-Encoding Header” Warning in Apache
To fix this in Apache, add the following code to your .htaccess file via FTP. This file can be found on the root of your server. You can also edit your .htaccess file with the Yoast SEO plugin if your permissions are set correctly.
Important! Editing your .htaccess file could break your site if not done correctly. If you are not comfortable doing this, please check with your web host first.
<IfModule mod_headers.c>
<FilesMatch ".(js|css|xml|gz|html)$">
Header append Vary: Accept-Encoding
</FilesMatch>
</IfModule>
Chapter 3:
How To Remove Query Strings from Static Resources with Code
You can easily remove query strings from your assets with a few lines of code. Simply add the following to your WordPress theme’s functions.php file.
Let’s start with the code method. Go to Appearance > Theme Editor in your WordPress dashboard. Then, follow these steps.
- Choose your specific theme in the right-hand corner.
- Select the theme functions (functions.php) under Theme Files on the right-hand side.
- Copy and paste this code at the end of the functions.php file.
function remove_query_strings() {
if(!is_admin()) {
add_filter('script_loader_src', 'remove_query_strings_split', 15);
add_filter('style_loader_src', 'remove_query_strings_split', 15);
  }
}
function remove_query_strings_split($src){
$output = preg_split("/(&ver|\?ver)/", $src);
return $output[0];
}
add_action('init', 'remove_query_strings');
Important: Editing the source code of a WordPress theme could break your site if not done correctly. If you aren’t comfortable doing this
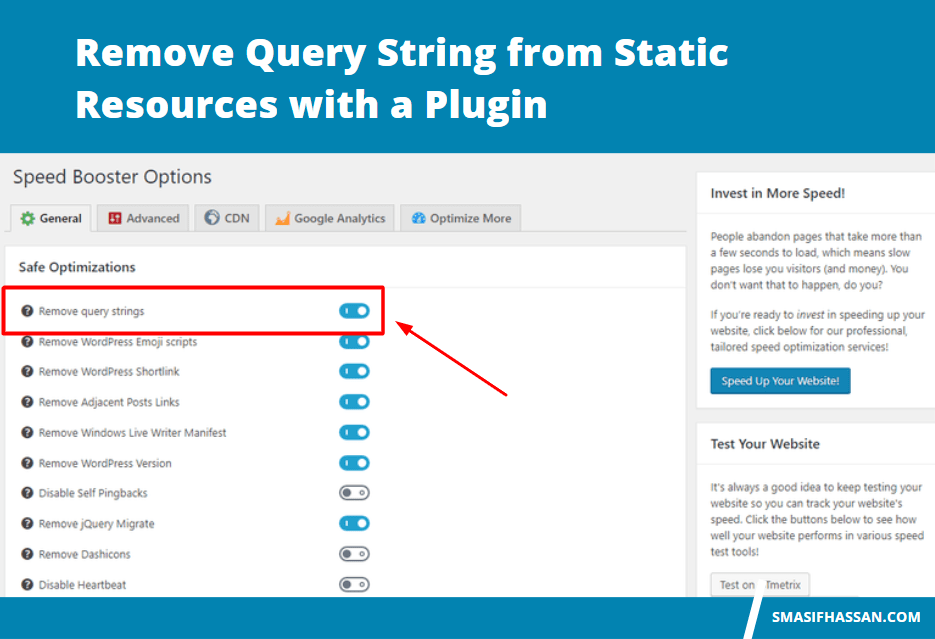
Remove Query String from Static Resources with a Plugin
An alternative to using code is to use a WordPress performance plugin that has this feature built in. The premium Perfmatters plugin (developed by a team member at Kinsta), allows you to remove query strings from static resources with a click of a button. It also enables you to easily implement other optimizations for your WordPress site, and works alongside your current caching plugin.

You can also use plugin to remove Query String from Static Resources with a Plugin Speed Booster Pack
Say goodbye to high bounce rates with Speed Booster Pack. This plugin is all about strengthening your site’s usability for your visitors.
Install and activate the plugin.
- Go to the Speed Booster tab on the left side of your dashboard.
- Under the General tab, click the slider next to Remove query strings. (It will change from white to blue.)
- Click Save Changes.
Chapter 4:
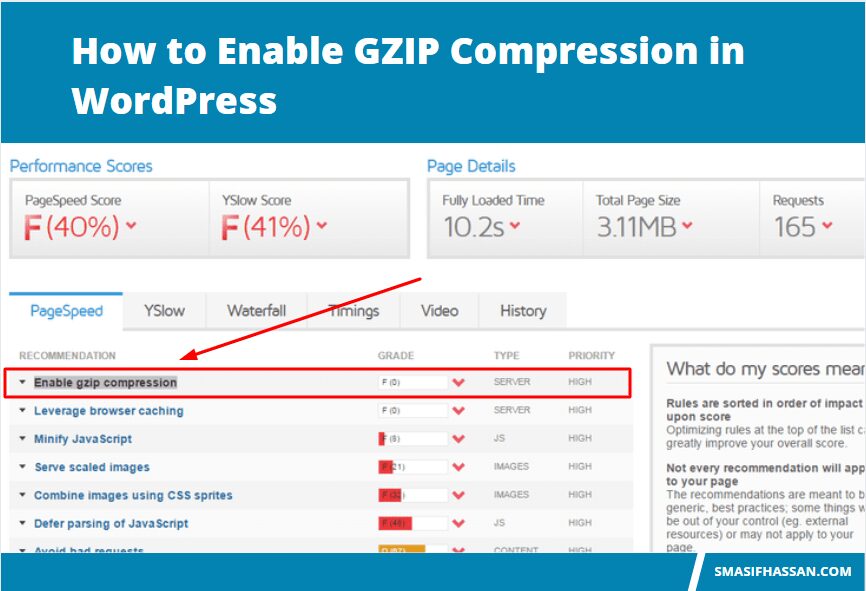
How to Enable GZIP Compression in WordPress

Check GZIP Compression Tool
The first and quickest way to check if GZIP compression is enabled on your site is to simply head over to the free Check GZIP compression tool. Simply input your website and click search. It will return the amount that was saved by compressing the page with GZIP. Or it will return an error letting you know GZIP isn’t enabled. As you can see in our test below, we saved 78.28%.
Enable GZIP on Apache
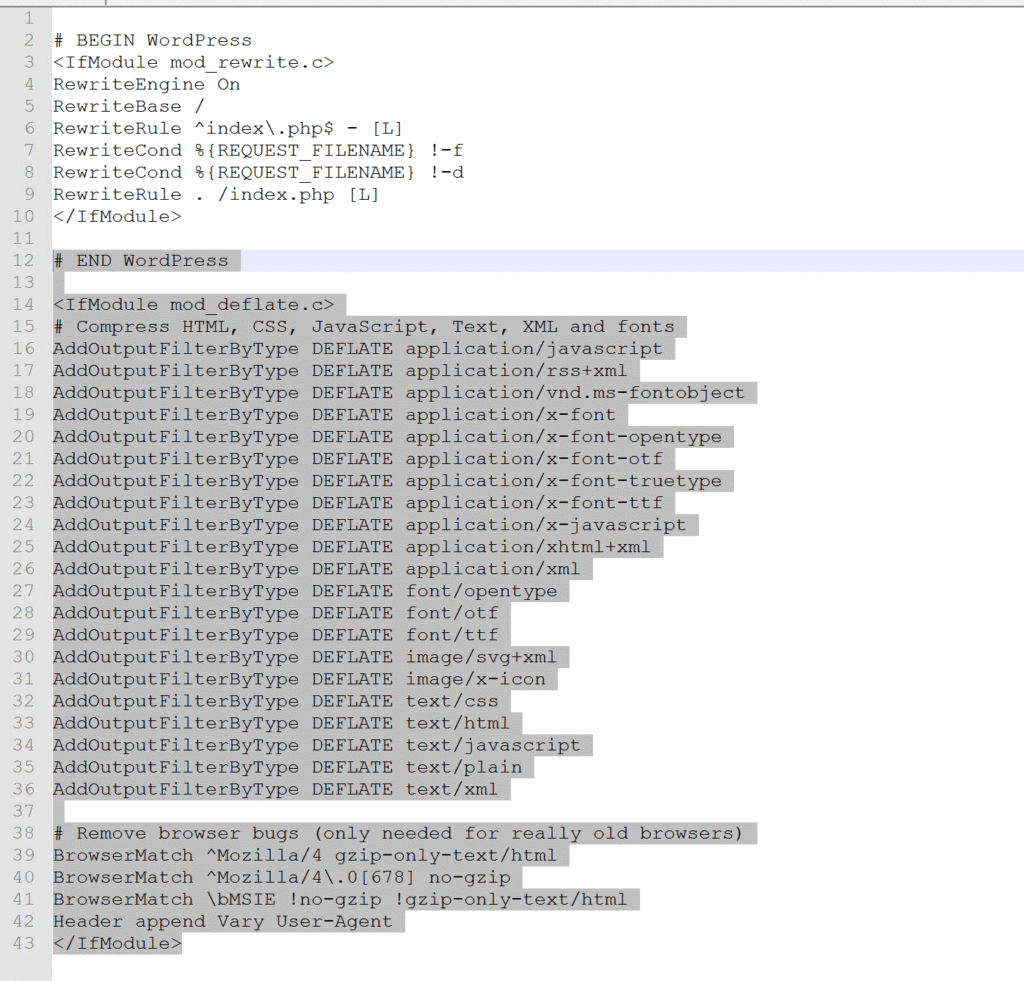
The second way to enable Gzip compression is by editing your .htaccess file. Most shared hosts use Apache, in which you can simply add the code below to your .htaccess file. You can find your .htaccess file at the root of your WordPress site via FTP.
<IfModule mod_deflate.c>
# Compress HTML, CSS, JavaScript, Text, XML and fonts
AddOutputFilterByType DEFLATE application/javascript
AddOutputFilterByType DEFLATE application/rss+xml
AddOutputFilterByType DEFLATE application/vnd.ms-fontobject
AddOutputFilterByType DEFLATE application/x-font
AddOutputFilterByType DEFLATE application/x-font-opentype
AddOutputFilterByType DEFLATE application/x-font-otf
AddOutputFilterByType DEFLATE application/x-font-truetype
AddOutputFilterByType DEFLATE application/x-font-ttf
AddOutputFilterByType DEFLATE application/x-javascript
AddOutputFilterByType DEFLATE application/xhtml+xml
AddOutputFilterByType DEFLATE application/xml
AddOutputFilterByType DEFLATE font/opentype
AddOutputFilterByType DEFLATE font/otf
AddOutputFilterByType DEFLATE font/ttf
AddOutputFilterByType DEFLATE image/svg+xml
AddOutputFilterByType DEFLATE image/x-icon
AddOutputFilterByType DEFLATE text/css
AddOutputFilterByType DEFLATE text/html
AddOutputFilterByType DEFLATE text/javascript
AddOutputFilterByType DEFLATE text/plain
AddOutputFilterByType DEFLATE text/xml

# Remove browser bugs (only needed for really old browsers)
BrowserMatch ^Mozilla/4 gzip-only-text/html
BrowserMatch ^Mozilla/4\.0[678] no-gzip
BrowserMatch \bMSIE !no-gzip !gzip-only-text/html
Header append Vary User-Agent
</IfModule>

<IfModule mod_gzip.c>
mod_gzip_on Yes
mod_gzip_dechunk Yes
mod_gzip_item_include file .(html?|txt|css|js|php|pl)$
mod_gzip_item_include handler ^cgi-script$
mod_gzip_item_include mime ^text/.*
mod_gzip_item_include mime ^application/x-javascript.*
mod_gzip_item_exclude mime ^image/.*
mod_gzip_item_exclude rspheader ^Content-Encoding:.*gzip.*
</IfModule>
Ensure that you add it below the current contents of your .htaccess file. Example below:
Important: Make sure mod_filter is loaded on your server, otherwise the AddOutputFilterByType directive will not work and could cause a 500 error. We recommend checking your error logs if you have any issues with the code below.

Chapter 5:
How to do Image optimization or use image compressor
- We can do image optimizations in two ways
- With WordPress Plugins
- Manual Image compression
Lets see how we will do image optimization and make small the size of a image.
Image Optimization With WordPress Plugin
- WP Smush
- EWWW Image Optimizer
- ShortPixel Image Optimizer
- Imagify
Manual Image compression
We can also do manual image compression. How? We will download a big size image from our website and compress it, reduce the size then uplaod the image again ijn our website.

